How to Upgrade Your Graphics Card

Welcome to Clark Data, the leading computer repair service in Rock Hill! If you're looking to enhance your computer's performance and take your gaming or graphic design experience to the next level, upgrading your graphics card is an essential step. In this comprehensive guide, we will walk you through the process of upgrading your graphics card step by step, ensuring a smooth and successful installation.
Why Upgrade Your Graphics Card?
Before delving into the technicalities, let's briefly discuss why upgrading your graphics card is crucial for optimal performance. A graphics card, also known as a video card or GPU (Graphics Processing Unit), is responsible for rendering images, videos, and animations on your computer screen. If you're experiencing slow frame rates, blurry graphics, or lagging while gaming or working with graphic-intensive applications, it's a clear indication that your current graphics card might not be up to the task.
By upgrading your graphics card, you'll enjoy faster and smoother graphics rendering, enhanced visual quality, improved overall performance, and the ability to run the latest software and games without any issues.
Step-by-Step Guide
1. Research and Compatibility
Before diving into the world of graphics card upgrades, it's crucial to research and ensure compatibility with your computer system. Consult your computer's user manual or visit the manufacturer's website to find out the compatibility requirements, such as the slot type, power supply requirements, and physical dimensions.
Additionally, consider your specific needs and budget to determine the ideal graphics card for your requirements. Look for reviews and recommendations from reputable sources to make an informed decision.
2. Preparation
Preparation is key to a successful graphics card upgrade. Start by backing up your important files and data to prevent any potential loss during the installation process. It's also advisable to create a system restore point to have a fallback option in case anything goes wrong.
Next, gather the necessary tools such as a screwdriver, thermal paste, and an antistatic wrist strap to protect your system from static electricity. Working on a clean and well-lit surface will facilitate the process.
3. Uninstall Existing Graphics Card Drivers
Prior to physically removing the old graphics card, it's crucial to uninstall its drivers. Doing so will prevent conflicts and ensure a smooth installation of the new graphics card. In Windows, access the Device Manager by right-clicking on the Start menu, selecting "Device Manager," and locating the graphics card under "Display adapters." Right-click on the graphics card and select "Uninstall device."
Follow the on-screen instructions to complete the uninstallation process. It's recommended to restart your computer after uninstalling the drivers.
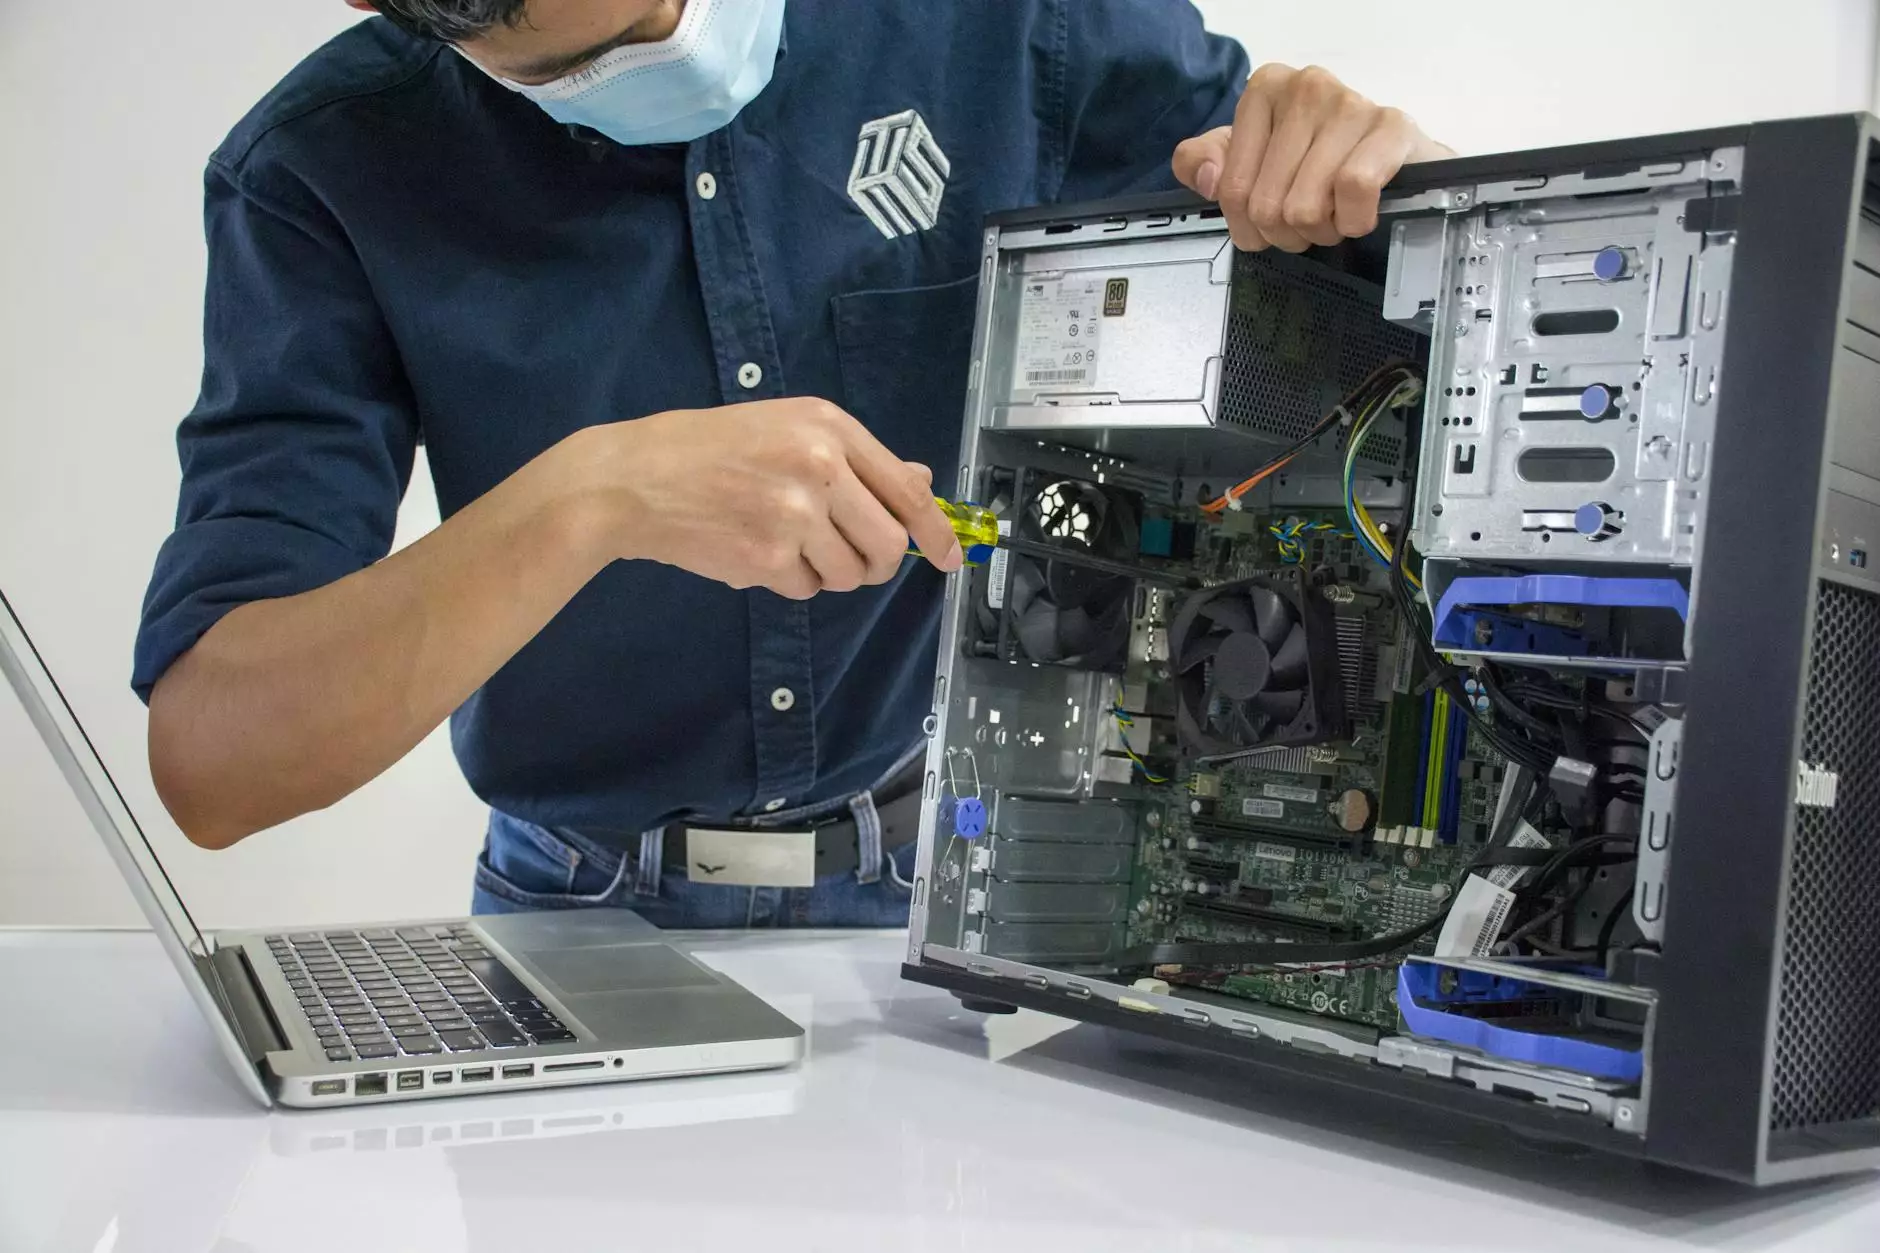
4. Physically Remove the Old Graphics Card
Once the drivers are uninstalled, power down your computer and disconnect all cables. Carefully open your computer case and locate the current graphics card in the PCI Express slot. Gently release any securing mechanisms, such as clips or screws, and carefully remove the card from the slot.
5. Install the New Graphics Card
Insert the new graphics card into the appropriate PCI Express slot. Ensure that it is properly aligned and firmly seated in the slot. Secure the card by reattaching any clips or screws that were holding the previous card in place.
Connect the required power cables to the graphics card, if applicable. Refer to the manufacturer's instructions for specific power configuration details.
6. Install the Latest Graphics Card Drivers
With the new graphics card securely in place, power up your computer. After booting into the operating system, download and install the latest drivers for your graphics card from the manufacturer's official website. Follow the provided instructions to complete the installation process.
Restart your computer to ensure that the new drivers are properly applied. You can verify the successful installation by accessing the Device Manager and confirming that the new graphics card is recognized without any errors or warning signs.
7. Testing and Optimization
Once the installation is complete, it's essential to test your new graphics card's performance and optimize its settings. Run benchmark tests and compare the results with the previous card to gauge the improvements. Adjust graphics settings in games or graphic-intensive applications to achieve optimal performance without sacrificing visual quality.
Regularly update your graphics card drivers to ensure compatibility with new software releases and access additional performance optimizations.
Conclusion
Congratulations! You have successfully upgraded your graphics card with the help of Clark Data's comprehensive guide. By following these step-by-step instructions, you have ensured an enhanced computing experience with faster, smoother graphics and improved overall performance. As the leading computer repair service in Rock Hill, we are here to assist you with any further questions or concerns. Feel free to reach out to our support team for expert advice and assistance. Enjoy your upgraded graphics card and take your computing experience to new heights!